Turn Any Photo, Picture, or Image Into a
Cross-Stitch Pattern
Upload any photo, picture, or image — portrait, pet, landscape, logo — and get a counted cross-stitch pattern from image with DMC thread colors, backstitch outlines, and a printable PDF. Free, no account required.
Drop a photo to start
or tap to upload · PNG, JPG, WebP
Free to use · No sign-up · Works in your browser
Thousands of photos converted to cross-stitch patterns
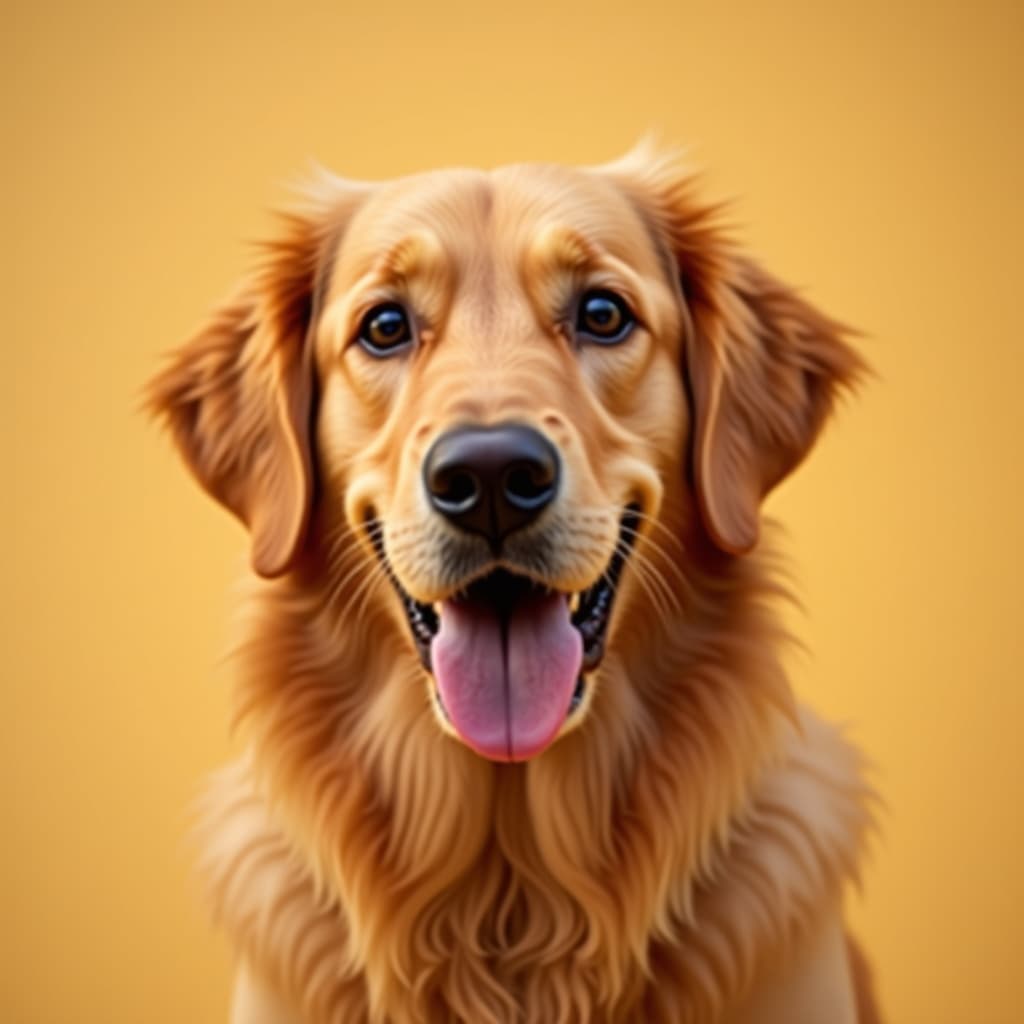
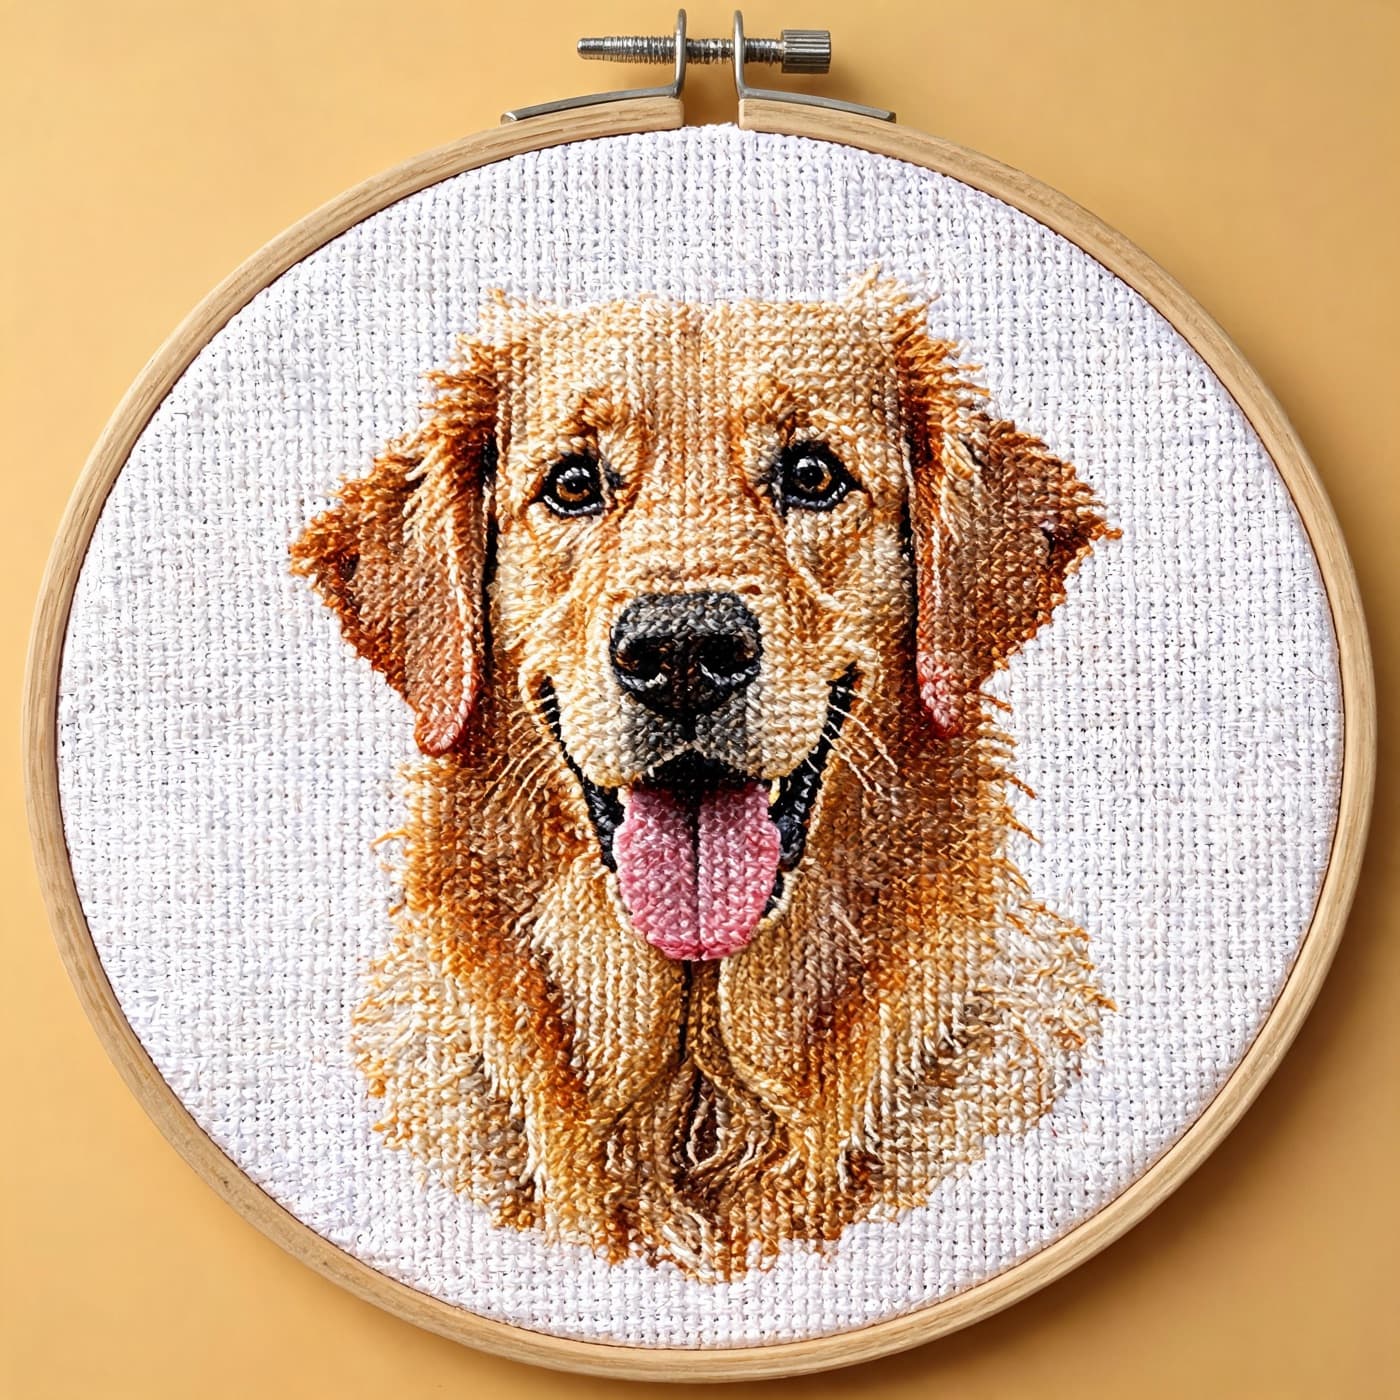
How it works
Upload Your Photo
JPEG, PNG, or WEBP — any photo works. Best results: high-contrast images with a clear subject. Crop tightly to your subject before uploading. Use the brightness and contrast sliders to adjust dark or washed-out photos before generating.
Set Grid Size and Colors
Grid width = number of stitches wide. On 14-count Aida: 70 stitches = 5 inches. Set color count to 15–25 DMC colors for most photos. The preview updates instantly as you change settings.
Preview and Adjust
Check the pattern preview. If colors look muddy, boost contrast. If there are too many stray single stitches, increase confetti reduction. Use the color swap tool to replace any DMC color with one you already own.
Preview and unlock the chart
Free: full browser preview. Pro ($4.99/mo): HD PNG + PDF with DMC color legend, symbol chart, thread quantities per color, and 50×50-stitch section pages for large patterns.
Getting From a Photo to a Stitchable Chart
The photo itself is the biggest variable in how clean your cross-stitch chart turns out — here's what to check before and after you upload.
What Makes a Photo Convert Well
A clear subject against a plain or simple background converts far more cleanly than a busy scene — fewer competing colors means fewer stray single stitches to clean up later. Crop tightly to your subject before uploading rather than relying on color settings to compensate for a cluttered frame. Straight-on portraits and pet photos taken at eye level read better than angled shots.
Fixing Dark or Washed-Out Photos
Dark photos are the most common reason a first attempt looks muddy — increase brightness (+15–25) and contrast (+20–30) before generating so dark tones separate into distinct DMC colors instead of collapsing into one. The live preview updates instantly, so you can see the effect on the actual chart rather than guessing at numbers.
Iterate Before You Commit to Thread
Because this is a converter, not a one-shot export, you can re-crop, re-adjust, and re-run the same photo in seconds and compare results side by side. Most people settle on final grid size and color count after a few quick passes rather than getting it right on the first try — check the preview and confetti percentage after each change.
Backstitch on Your Photo's Actual Edges
Backstitch detection runs directly against the edges in your uploaded photo — not a generic template — so the outline follows the real contour of your subject's eyes, jawline, or petal edges. Enable it after you've locked in grid size and colors, since backstitch placement depends on where the color regions land.
Grid Size From Your Actual Crop
Whatever aspect ratio you crop your photo to, grid width and height stay proportional to it — a square crop stays square, a portrait crop stays tall — so you don't need to do separate math to keep your subject from stretching. The generator shows the finished size in inches for your chosen Aida count as you adjust.
Built for Pet and Portrait Photos Specifically
Pet fur and skin tones are where photo conversion most often goes wrong — warm browns, tan-to-olive ranges, and near-black shades get flattened by simpler converters. CIEDE2000 color matching (the same standard used across ArtPatt) keeps these gradients distinct across the full 489-color DMC palette, which matters most on exactly the kind of photos people convert to cross-stitch: pets and portraits.
What Makes a Good Photo for Cross-Stitch Conversion
The quality of your source photo directly determines the quality of the resulting pattern. High-contrast photos with a clear, simple subject and plain background produce the best results. A golden retriever's face against a green lawn, a red rose against white, a bold graphic logo — these convert cleanly because the color regions are large and distinct. Complex photos with many small details, very dark areas, or busy backgrounds produce patterns with many small isolated stitches. Use the confetti reduction setting to clean these up.
Lighting is the most important factor. Natural daylight produces the most accurate colors. Flash photography creates harsh shadows and overly bright spots that map to incorrect thread colors. For pet portraits and people portraits: natural window light facing the subject, no direct sun (which creates harsh shadows). For product photography: diffuse studio lighting or an overcast outdoor shot. If your photo is dark or has heavy shadows, use the brightness (+20) and contrast (+25) sliders in ArtPatt before generating — this dramatically improves color separation in the pattern.
Choosing Grid Size for Different Projects
Grid size determines the stitch count and finished dimensions of your cross-stitch. On 14-count Aida (the most common beginner fabric), 14 stitches = 1 inch (2.54cm). A 70×70 stitch grid = a 5×5 inch (12.7×12.7cm) finished piece — suitable for a small desk frame. A 100×100 grid = 7.1×7.1 inches (18×18cm) — a standard greeting-card size frame. A 140×140 grid = 10×10 inches (25.4cm) — a substantial wall piece. For portraits: a 100-stitch-wide grid captures enough detail for a recognizable face. For pet portraits: 80–120 stitches wide gives the right balance of detail and stitchability.
Higher Aida count means smaller finished size at the same stitch count but more detail per square inch. 18-count Aida: a 70-stitch design = 3.9 inches (10cm) instead of 5 inches — more compact and more detailed. 28-count evenweave stitched over 2 threads gives the same density as 14-count but with slightly more delicate individual stitches. For your first photo cross-stitch: use 14-count Aida, 70–100 stitches wide, 15–20 DMC colors. This is achievable in 10–30 hours depending on your speed.
Testimonials
Photo to Cross-Stitch Success Stories
Photo to Cross-Stitch FAQ
Related Tools
Cross-Stitch Pattern Generator
Full-featured cross-stitch generator with all settings and craft-specific options.
DMC Color Chart
All 489 DMC thread colors with swatches, names, numbers, and hex codes.
DMC Thread Calculator
Calculate how many DMC skeins you need for a pattern.
Cross-Stitch Size Calculator
Find finished dimensions from fabric count and grid size.
Pet Portrait Pattern Generator
Specialized guide for converting pet photos to cross-stitch and crochet patterns.
Pixel Art Pattern Generator
Convert Minecraft sprites and game graphics to cross-stitch patterns.