Punch Needle Pattern Maker — Photo to Template
Quick Answer
How to generate punch needle patterns from photos with proper loop sizing, yarn estimation, and design tips for wall art, pillows, and rugs.
What is Punch Needle and Why Generate Patterns?
Punch needle is a fiber art technique where you push loops of yarn through a woven foundation fabric using a hollow needle tool. It creates a tufted, textured surface — similar to rug hooking but faster and more accessible. Commercial punch needle patterns are limited and expensive ($15–25 each). By generating your own from any image, you get unlimited creative freedom. Punch needle works at a medium resolution — somewhere between cross-stitch (high detail) and macrame (low detail). A typical project uses 30–60 stitches across, which means moderately detailed images work well.
Best Images for Punch Needle
Punch needle creates a fuzzy, textured surface — think of it like a low-resolution impressionist painting. This actually works in your favor: images that look too pixelated in cross-stitch look artistic and intentional in punch needle. Best subjects: bold abstract designs, simple landscapes, large florals, cartoon characters, geometric patterns, and bold text. Pet portraits work if they're close-up with a simple background. The textured surface naturally softens edges, so you don't need backstitch outlines. Keep your grid size between 30–50 for most projects — this gives enough detail without making the project overwhelming.
Yarn Weight and Punch Needle Size
Punch needle tools come in different sizes for different yarn weights. Fine punch needles (like the Ultra Punch) work with embroidery floss and create tiny, detailed loops. Medium needles (like the Oxford Regular) use worsted weight yarn and create a plush, pillow-like surface. Large needles (like the Amy Oxford #10) use chunky yarn or strips of fabric for rug-making. ArtPatt's default gauge of 10 stitches per 10cm is calibrated for medium punch needles with worsted yarn. Adjust your gauge setting if using a different needle size. Finer needles = more stitches per cm = smaller finished piece.
Color Strategy and Confetti Reduction
Punch needle is forgiving with colors because the fuzzy texture blends neighboring loops together. This means you can use fewer colors than cross-stitch and still get a good result. 8–12 colors is ideal for most punch needle projects. The confetti filter is important but for a different reason than other crafts: isolated single-color loops in punch needle create visible 'dots' that break the visual flow. Set confetti to 'Medium' — heavy reduction can remove too much detail since punch needle is already low-resolution. Use the dithering option for photographic images — the stippled effect looks beautiful as textured punch needle loops.
Transferring the Pattern to Fabric
The generated pattern needs to be transferred to your monk's cloth or punch needle foundation fabric. Method 1: Print the color version at actual size, place it under your fabric (monk's cloth is semi-transparent), and trace the color boundaries with a washable marker. Method 2: Use a lightbox or window for better visibility when tracing. Method 3: Print the symbol version (B&W) and grid it out by counting squares on your fabric. Whatever method you use, remember that punch needle is worked from the back — the design appears reversed on the working side. The finished (loop) side is a mirror image of what you see while punching.
Yarn Estimation for Punch Needle
Punch needle uses more yarn than you'd expect because each loop extends through the fabric. A medium loop height uses about 6cm of yarn per stitch. ArtPatt estimates this per color, including a 15% waste buffer. Worsted weight yarn balls typically contain 170–200 meters. For a 40×40 project (1,600 stitches total), you'll need roughly 100–120 meters total across all colors. The most-used color (usually a background) might need 40–60 meters alone. Buy an extra ball of your background color. The color legend in the PDF shows exact requirements per color.
Finishing Your Punch Needle Project
After punching, apply fabric glue or latex rug backing to the back side to prevent loops from pulling out. Trim the foundation fabric leaving 2–3cm border, fold it over the back, and glue or stitch it down. For wall hangings, you can stretch the piece over a canvas frame or embroidery hoop. For pillows, use the punched piece as the front panel and sew a backing fabric. For rugs, use proper rug backing and non-slip padding. The finished piece will have the dimensions shown in ArtPatt's stats — plan your frame, hoop, or pillow size accordingly.
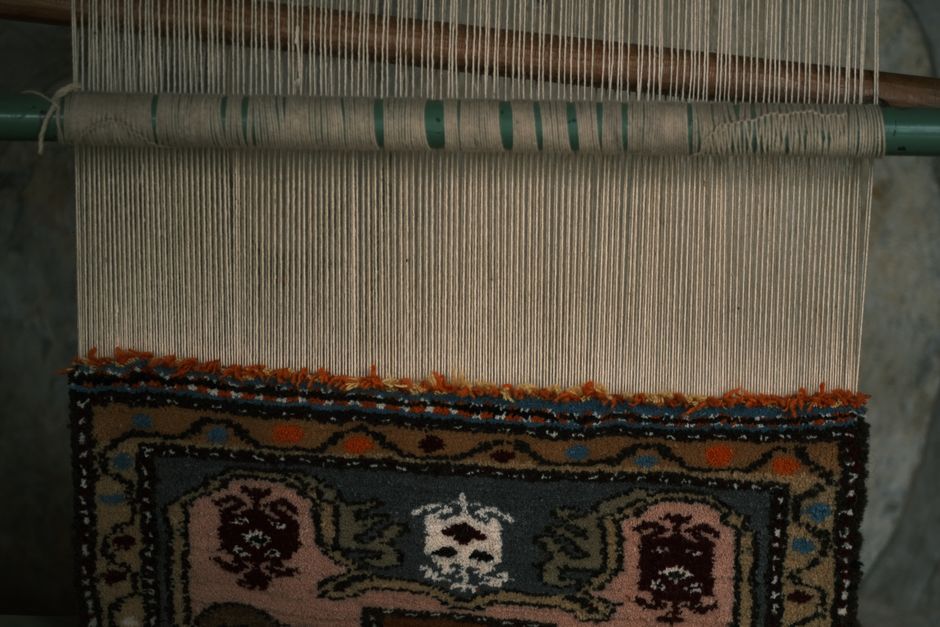
Choosing the Right Foundation Fabric
The foundation fabric is the single most important supply decision in punch needle. Monk's cloth is the most popular choice: a loose weave cotton that guides the needle smoothly and holds loops firmly without puckering. Weaver's cloth is slightly stiffer and works well for small detailed projects. Linen and primitive linen give a rustic texture suited to folk art designs and hold loops exceptionally well for rug-weight work. Avoid tight-weave fabrics, quilting cotton, and anything with synthetic content — these resist the needle and cause loops to fall out. For beginners, pre-stretched monk's cloth frames (10×10 or 12×12 inches) sold at craft stores remove the need to tension the fabric yourself, which is the most common frustration for first-time punch needle artists. The fabric must be stretched drum-tight — a loose mount is the leading cause of loops pulling out after completion.
Working From a Photo-Converted Punch Needle Chart
A photo-converted punch needle chart gives you a color grid where each cell represents an area of loops in a specific color. Work one color at a time — complete all instances of the background color first, then the largest secondary color, and so on down to the smallest accents. This prevents constant rethreading and makes it easier to keep consistent loop height within each color area. When moving between color zones on the same area of fabric, cut the yarn at the edge of the completed zone, leave a 3 cm tail, and start fresh in the new zone. Do not drag the yarn across the back of the fabric between non-adjacent color zones — this creates lumps visible on the front. Use the printed chart section pages as a reference pinned behind the work frame, and mark off each completed color zone as you finish it to track progress across a large piece.
Punch Needle vs Cross-Stitch: Which Is Right for You?
Both punch needle and cross-stitch convert photos into stitched artwork, but they produce very different results and suit different working styles. Cross-stitch is precise and graphic — each stitch is a defined X in a fixed grid, and the finished piece looks sharp and pixel-like. Punch needle is textured and impressionistic — the loops create a soft, pile-like surface that blends colors slightly and gives a painterly quality to photo subjects. Cross-stitch is worked on the front of the fabric; punch needle is worked from the back. Cross-stitch requires counting stitches on a chart; punch needle requires maintaining consistent loop height and spacing. For large pieces, punch needle is significantly faster than cross-stitch because each punch covers a larger area than one cross-stitch. For fine detail (text, small symbols, precise geometric patterns), cross-stitch is better. For soft portraits, bold florals, and any subject where a textured surface adds appeal, punch needle often produces more satisfying results per hour of work.
Common Beginner Mistakes in Punch Needle
Not going deep enough: if the needle does not reach the fabric surface on every punch, the loops are too short and fall out easily. The handle of the tool should touch the fabric surface on each punch. Pulling up too high between stitches: lifting the needle above the fabric surface rather than just sliding it along the surface pulls the previous loop out. Slide the tool tip along the fabric surface between punches rather than lifting it. Working in the wrong direction: the open notch on the needle shaft must always face the direction you are moving, otherwise loops do not form correctly. Fabric not drum-tight: loose fabric absorbs the punch energy and loops slide out. Retighten the frame every 10–15 minutes as the fabric relaxes. Mixing loop heights within a color area: varying how deeply you punch creates an uneven pile surface with visible height differences. Keep pressure and depth consistent throughout each session, and start fresh after any long break where your physical fatigue changes your punching force.
Related Articles


