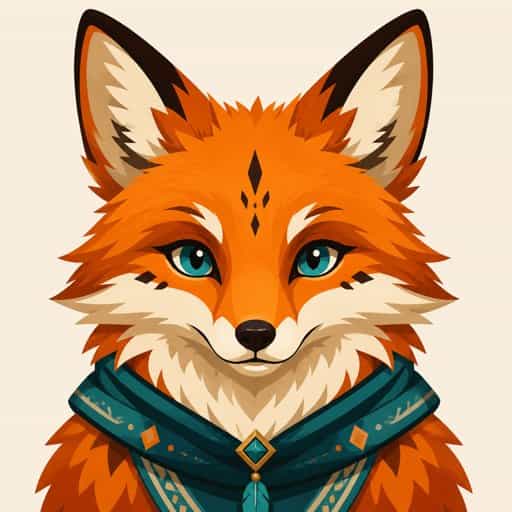
Your photo
Convert Any Image
to an Embroidery File
Upload a picture and get a machine embroidery file — PES, DST, JEF or EXP — digitized with fills, satin, underlay and trims, and previewed stitch by stitch.
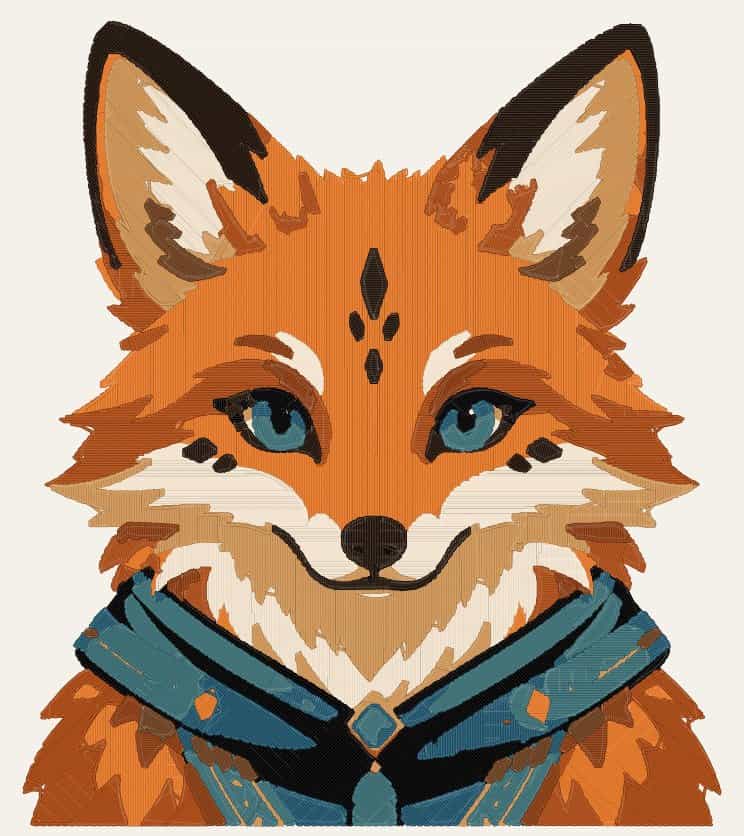
This illustration in a 5×7 hoop: 20,000 stitches, tatami fills with satin details.
Digitized, Not Just Converted
Renaming a PNG does not make an embroidery file. The picture has to become stitches.
Fills and satin, chosen per shape
Wide areas get a tatami fill at an angle over an underlay that holds the fabric flat. Narrow shapes — outlines, letters, whiskers — get satin stitches across the column, the way a digitizer would sew them.
Sized to your hoop
Pick 4×4, 5×7, 6×10 or 8×8 and the design is fitted inside it, with the stitched area measured in millimetres and density kept at 0.4 mm row spacing whatever the size.
Trims, jumps and lock stitches
Colors are sewn from the background to the details, each object nearest-first, with lock stitches at every start and end and a trim wherever the thread would otherwise drag across the design.
See every stitch first
Before you download, the preview draws each stitch in its thread color, with the stitch count, number of colors and trims, and the sewing time.
Logos and Lettering Stay Crisp
Flat art is the easiest thing to digitize well. Solid shapes become clean fills, text becomes satin columns, and the white around a logo — and inside an O or an a — is left to the fabric instead of being stitched in white thread. Transparent PNGs work the same way.
Convert my image
From Picture to Stitches
Embroidery machines do not read pictures. They read a list of stitches, and turning an image into that list is called digitizing. Done by hand in software like Hatch or PE-Design it takes practice and time; here it runs automatically in your browser.
Colors become threads and each color area becomes an object. The thickness of the object decides the stitch: satin across anything narrower than 4.5 mm, tatami fill at 0.4 mm row spacing over an edge run and a cross-hatched underlay for anything wider. Rows are lengthened slightly at both ends to make up for the pull of the thread, objects are sewn from background to detail, and every jump is trimmed and locked.
Before you download, the preview shows exactly those stitches, with how many there are, how many colors and trims, and how long the machine will take.
Convert my imageWhich Format Does My Machine Use?
PES for Brother, Baby Lock and Bernette, DST for Tajima and nearly every commercial machine, JEF for Janome, Elna and Kenmore, EXP for Melco and Bernina.
All four formats store the same stitches, so pick the one your machine reads. If you are not sure, check the file list on its USB stick or in the manual — or download DST, which almost every machine and embroidery program can open.
Image to Embroidery File FAQ
More Embroidery Tools
Embroidery Pattern Generator
Photo to a hand embroidery chart with DMC thread matching.
Embroidery Hoop Size Calculator
Find the hoop that fits your design.
Cross-Stitch Pattern Generator
Turn a photo into a counted cross-stitch chart.
Quilt Calculator
Plan the quilt your embroidered block or label goes on.
Free Stitch Preview — File from $2.99
Digitize and preview for free. Pay once to download the file, or go Pro for unlimited files and patterns.
Free
Make one pattern free every week.
- Upload any picture
- Choose colors and hoop
- Stitch preview with counts
- No account required
Tax is added at checkout where it applies.