Perler Bead Patterns for Beginners
Eight simple designs that each take one sitting, with exact bead counts per color. Load any of them into the grid to recolor it, or draw your own.
Perler (fuse beads) grid designer
Draw on the grid with the palette, fill areas, or start from a photo. Everything stays in your browser.
- Grid
- 9 × 8
- Filled cells
- 46
- Total cells
- 72
- Pegboards
- 1 × 1
- Finished size
- 4.5 × 4.0 cm (1.8 × 1.6 in)
Colors used
- Red — 44
- White — 2
Pick a beginner pattern
Every design fits on one large square pegboard. Load one into the designer above to recolor or change it.
Heart
9 × 8
- Red — 44
- White — 2
Star
11 × 10
- Yellow — 59
Mushroom
10 × 9
- Red — 26
- Tan — 22
- White — 16
Strawberry
9 × 11
- Red — 44
- Green — 9
- Yellow — 6
Rainbow
13 × 7
- Red — 19
- Orange — 17
- Yellow — 15
- Green — 13
- Blue — 9
Cat face
11 × 10
- Black — 71
- White — 5
- Yellow — 4
- Pink — 1
Ghost
11 × 10
- White — 44
- Black — 38
Smiley face
11 × 11
- Yellow — 58
- Black — 43
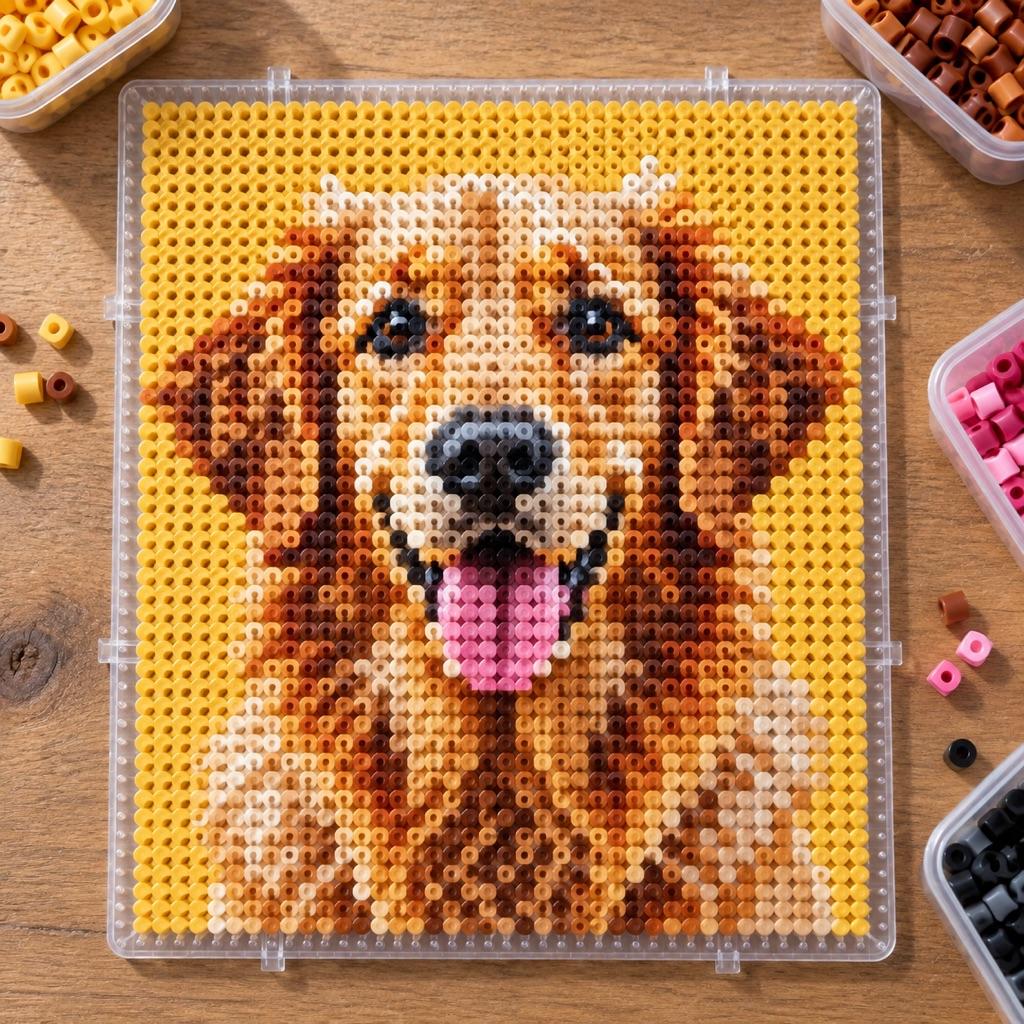
Turn a photo into a real pattern
Ready for your own design? Turn a photo into a Perler chart with colors matched.
Turn a photo into a bead patternPerler beads for beginners: what you need
You need four things. Fuse beads: Perler's standard midi size is 5 mm, and a mixed tub is plenty for these patterns. A pegboard: the large square (29 × 29 pegs, about 5.7 inches) fits every design here. Ironing paper: the sheet in Perler kits, or parchment paper. And a household iron. Tweezers are optional but make placing single beads and fixing mistakes much easier.
Placing beads is the relaxing part. Follow the chart row by row and leave the dots empty. Nothing is fixed until you iron, so a wrong bead is easy to fix: pick it out and put in the right one. Work on a table where the board won't get bumped, because a knocked board means starting the row over.
Ironing is the step to take slowly, and an adult should do it. Put the board on a heat-safe surface, cover it with the ironing paper, and set a dry iron to medium. Move the iron in slow circles without pressing down, for about 10 to 20 seconds, and lift a corner of the paper to check. Stop when the beads have joined but still have open holes. Let it cool, peel off the paper, lift the piece off the board, flip it, and iron the back the same way. Many beaders put a book on the piece while it cools so it stays flat.
Why these eight are easy
Each design is 13 × 11 beads or smaller, uses five colors at most, and has no lone beads hanging off the edge, so it holds together after ironing. Heart, star and ghost use one or two colors. Mushroom, strawberry, cat face and the smiley face add a few details, and the rainbow has the most colors, five, in simple bands. The color list on every card names the Perler colors and how many of each you need.
When you have made a couple, change one. Edit this pattern loads the design into the grid at the top, where you can swap colors, make the board bigger, or draw something new on the same 29 × 29 grid. When you are ready for your own picture, the Perler bead pattern generator turns a photo into a chart with matched colors and bead counts.
Perler Beads for Beginners FAQ
The star on this page. It is one color, so you only follow the outline, there is nothing to sort, and you can watch how the beads fuse without worrying about details. The heart comes next, with just two white beads for the shine. After that, try the ghost or the strawberry to practice small details.
Perler beads (midi, 5 mm), a pegboard, ironing paper or parchment paper, and a household iron. A large square pegboard fits every pattern on this page. Tweezers are helpful but not required.
Cover the board with ironing paper, set a dry iron to medium, and move it in slow circles without pressing for about 10 to 20 seconds per side. Check under the paper: the beads should be joined with the holes still open. Let it cool, flip the piece, and iron the back the same way.
Flat and shiny with the holes closed means too much heat or too long. Turn the iron down or move faster. Beads that come apart did not get enough heat, so iron again for a few more seconds, and remember to fuse the back as well.
Yes. Press Edit this pattern and the design opens in the grid at the top of the page. Swap colors, fill areas, resize the grid or draw over it, then download the chart as a PNG.
Iron the piece, then open a jump ring with pliers, thread it through the hole of a bead on the edge, and close it. Iron lightly so the edge beads keep open holes, and pick a bead at the top edge so the piece hangs straight.
Related Tools and Pages
Perler Bead Pattern Generator
Turn your own photo into a Perler chart with colors matched and beads counted.
Perler Bead QR Code
Turn a link into a QR code that fits one 29 × 29 pegboard.
Kandi Pattern Maker
Pony beads on elastic: design ladder and multi kandi cuffs on a grid.
Pixel Art Grid
Sketch your own small design on a pixel grid before you place beads.